Reusable dispenser workflow
Pro Foam Gun Setup, Use, Cleaning, and Storage
A pro gun controls delivery; it does not define the foam formulation or approve an application. The can, valve, cleaner, gun, tips, and storage method must be treated as one documented system.
On this page
The short answer
Read the current instructions before mounting a can. Verify compatibility, condition the product, control the work zone, test the bead, follow exact pause and can-change steps, and never improvise cleaner or storage.
This answer changes when…
- Exact gun, valve, can, cleaner, and tip compatibility
- Product and ambient conditioning
- Bead application versus formulation approval
- Short pause, can change, end-of-day, and long-storage instructions
- Pressurized-container condition, waste, transport, and disposal
Dotted terms have plain-language definitions. Browse the glossary ↗
The gun is a delivery tool
A threaded dispenser can improve reach, bead control, restart, and can utilization for a compatible one-component product. It does not turn general gap foam into window and door foam, pest-block foam, fireblock foam, or surface insulation. Choose the formulation first and the dispenser second.
Treat the can, valve, gun, tip, cleaner, and storage instructions as one system. Similar threads or collars do not prove chemical or seal compatibility.
Make a preflight card for the exact system
| Check | Record before connection | Reason |
|---|---|---|
| Product | Name, use, lot, dates, SDS, instructions | Establishes formulation and application limits |
| Gun | Model, clean condition, valve and seal condition | Reduces leak and clog uncertainty |
| Cleaner | Exact compatible product and disposal plan | Wrong cleaner can damage seals or create a reaction |
| Conditions | Can, air, and substrate condition | Pattern, expansion, and cure are condition dependent |
| Work area | Ventilation, masking, ignition control, occupants | A precise bead still involves chemical exposure |
| Waste | Lined receptacle and pressurized-can route | Prevents an improvised shutdown |
Wear and ventilation decisions come from the exact SDS and work plan. Do not use a video clip or another brand’s gun routine as the controlling instruction.
Inspect before mounting a can
Check that the gun is the documented model or compatible type, the basket and valve area are clean, the barrel and tip are clear, the trigger returns normally, and the flow-control screw moves without force. Retire a bent, leaking, corroded, or damaged tool.
Read whether the can must be shaken, warmed or cooled within a specified range, and connected upright or inverted. Confirm the valve and collar match. Protect the connection from dirt. Never puncture, heat, burn, or force a pressurized can.
Connect and test away from the building detail
Follow the product sequence for holding the gun and threading the can. Do not overtighten. Point into the planned waste receptacle, open the control only as directed, and fill the internal path. Set a small initial flow and make a test bead on a compatible disposable surface.
Observe pattern, color, expansion, and continuity. Stop for sputtering, leakage at the basket, material at the handle, a stuck trigger, or an abnormal bead. A larger flow setting can hide a process problem while creating more overspray.
Apply the formulation’s instructions
Keep the can in its documented orientation and place a continuous bead within the eligible opening. The gun controls output, but the product still controls permitted gap, fill fraction, layer, moisture conditions, temperature, substrate, trim time, and protection.
Move deliberately enough to avoid breaks and slowly enough to see the joint. Keep the tip away from electrical contacts, moving hardware, drains, finishes, and unintended cavities. Do not use sharp objects inside the barrel or valve unless the manufacturer explicitly permits it.
Short pauses, can changes, and storage are different states
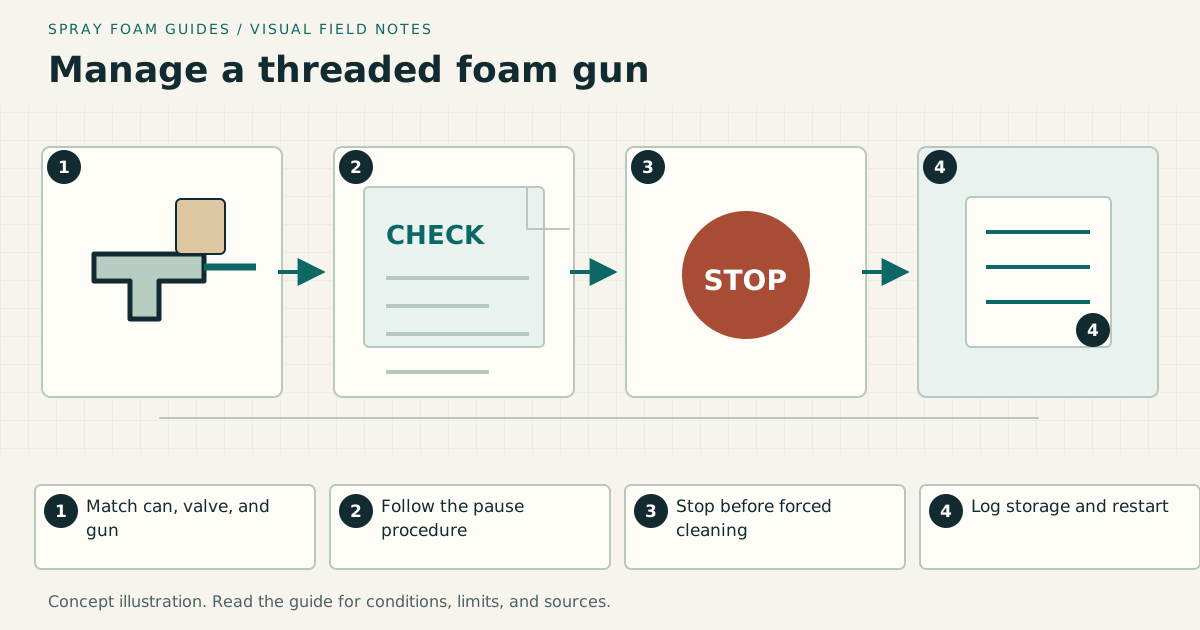
The exact manual should answer each state:
- How to close the flow control for a brief pause.
- Whether the can remains attached and in what orientation.
- Maximum restart interval for that can and gun combination.
- How to remove an empty or faulty can without releasing material uncontrolled.
- Whether a new can must be ready before the old one is removed.
- When a cleaner flush is required.
- Whether cleaner may remain mounted during storage.
- How the depressurized, cleaned gun is stored.
DuPont’s published instructions offer system-specific examples, including storing some cans upright with the gun attached and using a named cleaner for a defined flush. Those steps do not transfer automatically to other systems, and even documents within one product family can differ. Follow the current instructions supplied for the exact combination.
Cleaner is a chemical product, not a maintenance shortcut
Read its SDS and protect surrounding finishes. Plan ventilation, ignition control, splash protection, waste capture, and disposal. Flush only in the specified direction and duration. Do not mix cleaners or use water, acetone, or another solvent from memory.
Cured foam generally is not removed by the same process as uncured residue. Mechanical cleaning can damage precision surfaces. If the gun has cured material internally or a failed seal, replacement may be safer and more reliable than forceful disassembly.
Decide when to retire the tool
Remove a gun from service when foam leaks at the trigger or handle, the valve cannot close, the basket threads are damaged, the barrel is bent, flow remains erratic after the approved maintenance, or undocumented parts have been mixed. Mark it so another worker does not reconnect a pressurized can.
Treat a swollen, corroded, leaking, overheated, or otherwise damaged can as a separate hazardous condition. Isolate the area and follow the manufacturer and local waste authority; do not test it by mounting it to another gun.
Example daily log
| Time | Event | Product and can | Observation | Action |
|---|---|---|---|---|
| 08:10 | Preflight and test bead | Product A, lot recorded | Even pattern | Began eligible gap work |
| 10:35 | Short pause | Same can | No leak at connection | Closed control per instructions |
| 12:05 | Restart | Same can | Initial sputter | Stopped and followed product restart check |
| 15:40 | End of work | Same system | Can partly used | Stored under exact mounted-can procedure |
The table documents decisions without supplying universal times.
Handoff for a shared crew
Keep the current instructions, SDS, compatibility list, preflight card, daily log, cleaner record, and disposal receipt or local direction together. Label stored tools with product system, can connection date, condition, and responsible person.
Before another worker resumes, that person repeats the preflight. A gun left on yesterday is not proof that the can, valve, internal path, or stored conditions are acceptable today.
Research & references
Sources used for this guide
- GREAT STUFF PRO 13 Polyurethane Foam DispenserDuPont · manufacturer document · United States; exact compatible gun-system example for flow control, restart, storage, and maintenance, not a claim for every gun or can · accessed 2026-09-08
- GREAT STUFF PRO 14 XL Foam Dispensing GunDuPont · manufacturer document · United States; exact 40-inch dispensing-tool example, not authorization for concealed or otherwise unsuitable work · accessed 2026-09-07
- GREAT STUFF PRO Gaps & Cracks Insulating Foam Sealant InstructionsDuPont · manufacturer document · United States; exact legacy product-system setup, pause, storage, cleanup, and cure example, not transferable instructions or confirmation of current packaging · accessed 2026-09-09
- GREAT STUFF Foam Sealants and Dispenser OptionsDuPont · manufacturer document · United States; current examples showing general gap, window and door, and pest-block formulations across dispenser systems · accessed 2026-09-07
- Hazard Communication Standard: Safety Data SheetsOccupational Safety and Health Administration · government guidance · United States workplaces · accessed 2026-09-05
- Spray Polyurethane Foam Product Types (archived)U.S. Environmental Protection Agency · government guidance · United States; archived product-family and exposure overview · accessed 2026-09-06
A citation supports a specific statement, not every possible assembly or local code interpretation.